How to configure Linksys Wireless Access Point

Linksys Wireless Access Point configuration.
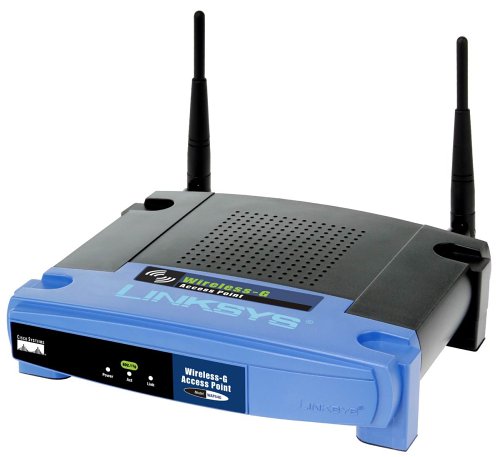
Linksys Wireless Access Point is one of the best and a reliable product released by Linksys Cisco. Access points are used widely to extend your wired segment into wireless segment. Modern Access points of Linksys are very intelligent devices with inbuilt security, filtering and logging mechanism. It comes into two flavors (G and B). Best think about the Access Point is it can be used as range expander, wireless bridge and even as a gaming adapter.
In this hub we are going see about the different ways of configuring the access point.
TO USE YOUR ACCESSPOINTIN ACCESS POINT MODE BELOW ARE THE MANDATORY THINGS.
- One laptop/PC/MAC with wireless card and NIC(LAN)
- One RJ45 cable(Ethernet cable)
- One wireless router which is already setup and should be in working condition.
Configuring the Wireless Access Point as an access point:
This is the most common mode of configuring an access point. Almost 80% of people use the access point to add wireless capability to their wired router. Follow the below procedure carefully to get your access point configured as a wireless access point.
1) Unlike router the access point doesn’t have DHCP server inbuilt hence we won’t be able to access the setup page of access point easily.
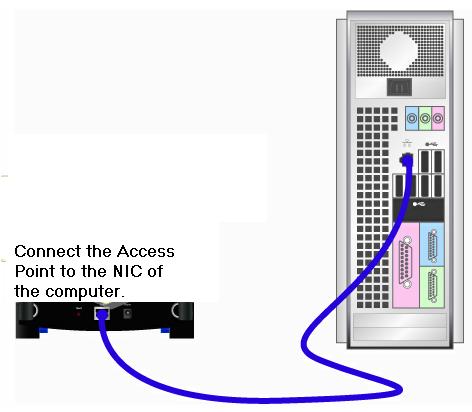
2) Connect a computer to the LAN port of the access point with an Ethernet cable.
3) Now we need to assign a static IP address to your computer. Follow the below step to do the same.
· Click on StartàControl PanelàNetwork Connections
· Right Click on Local Area Connections
· Select Properties. You will get the below window.
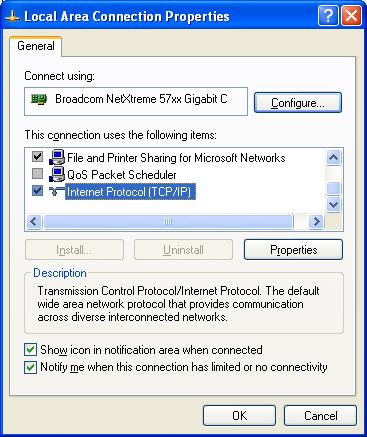
· Scroll down the window and select “Internet Protocol(TCP/IP)”
· Click on Properties. Now select “Use the following IP Address”
· Fill the fields as below
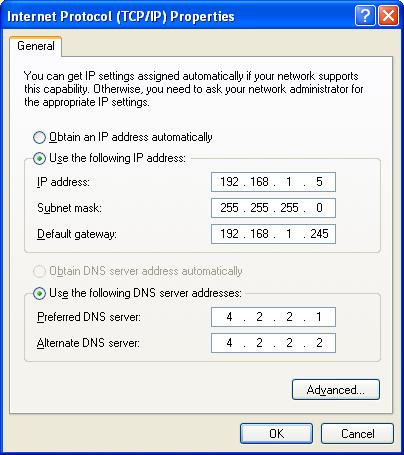
· Click OK
3) Now open an Internet Explorer and type in the address http://192.168.1.245
4) It will prompt for a username and password.
5) Type in the default credentials (Username:admin Password:admin)
6) If it doesn’t work try one of your most frequently used passwords.
7) If nothing works press the reset button at the rear side of the access point for 30 secs then try the default username and password. It should definitely work.
8) Now you can see the setup page of your Access Point.
9) Click on Wireless Tab. Now we can setup our wireless network.
· Click on “Basic Wireless Settings”
· SSID:MyHome àYou can type in any name of your choice that you can remember better
· Channelàselect 11(My Recommendation)
· Click “Save Settings”
· Click Continue(Incase if it prompts to do so)
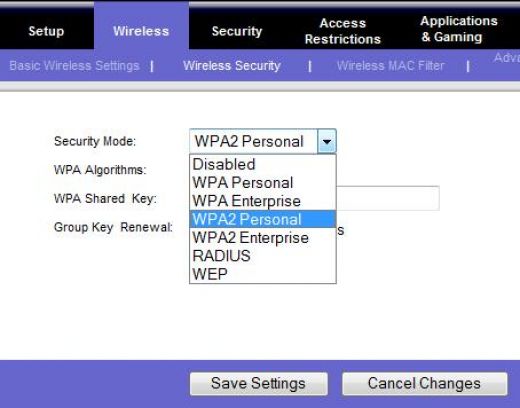
10) Now click on the Wireless Security Tab (Which will be just below the Wireless Tab)
11) Select the Security Mode from one of the options (WEP,WPA Personal and WPA2 Personal).
12) Rest of the options requires additional hardware resources.
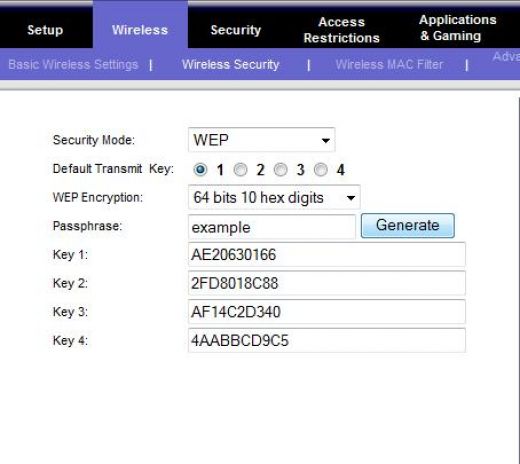
13) If wep is selected then you will be prompted to type a passphrase and then you will have a generate button click on that then it will display four ten digit keys. Make a note of that ten digit numbers. So that whenever you connect with your signal you can use this ten digit number to authenticate the signal.
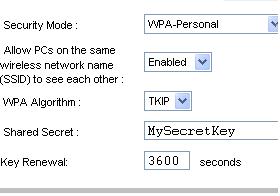
14) WPA:
If your option is WPA then you will have an option to type a passphrase (minimum 8 characters).The same eight digit key will be your password. Use the password to connect with your signal from your laptop/computer.
15) WPA2 Personal
It is same as WPA personal but the difference is, compared to WPA personal this has got a stronger encryption algorithm.
16) Click on Save Settings to save the change
Turn on your wireless switch in your laptop and search for the Wireless Signal.
17) After identifying your signal click on the signal and click connect.
18) It will prompt for a network key (type in the WEP or WPA key which you set during the configuration)
19) Now you are successfully connected to the wireless connection.
20) Now remove the “Ethernet cable” from the computer end and re-patch the cable to your wired router.
21) Check if you can get online. It should be online now.


